
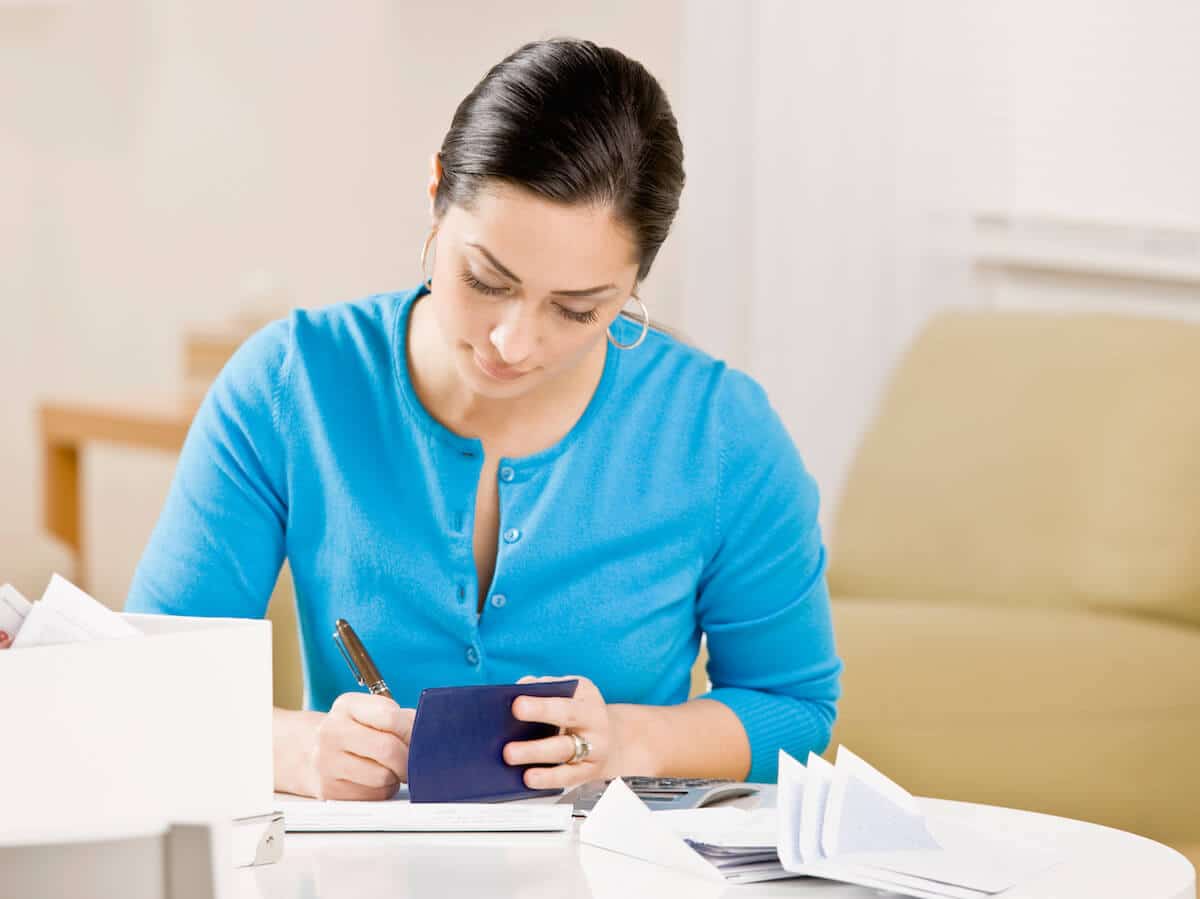
In the age of credit cards and mobile payments, it’s easy to transfer money digitally via Remitly and other services. Yet, there are still occasions when only cash or checks will do. Need a quick refresher on writing a check? We’ve got you covered in the steps below.
How to write a check: 6 quick steps
Time needed: 5 minutes
Guide to writing a check
- Date it.
Write the current date in the top right corner.
- Add Payee’s name.
On the line labeled ‘Pay to the Order of,’ write the recipient’s name.
- Write the amount in numbers.
In the box next to the dollar sign, write the amount numerically.
- Write the amount in words.
Write out the amount in words on the line beneath the payee’s name.
- Write the memo (optional).
Add a note or reference in the memo line for your records.
- Sign it.
Don’t forget to sign your check on the bottom right line.

Types of checks
There are several types of checks from traveler’s checks to cashier’s checks, but the main type you’ll write is a personal check.
With personal checks, it’s up to you to fill out the information, such as the payment amount and name of the recipient.
Your bank or financial institution usually completes other types of checks for you. You might need to sign, but a bank teller or cashier will handle the details and check your account for sufficient funds.
Before we move on, are you looking for a little financial inspiration? Check out these motivational money quotes that will change how you think about your finances.
How to write a personal check
Here’s how to go about writing a check step-by-step.
1. Write the date in the upper-right corner of the check.
In the top right-hand corner of the check, you’ll need to fill out the current date on the date line. The correct date is important since banks aren’t required to accept checks that are more than six months old. In the U.S., a set of laws called the Uniform Commercial Code (UCC) regulates these details.
Sometimes, you may need to postdate a check: that means writing one with a future date on it. Just keep in mind that a post-dated check will only be cashable after the date listed on it. Some companies may not accept post-dated checks for this reason.
Be sure to correctly write the month, day, and year in the check’s upper right-hand corner. The payee may not be able to cash the check if the date is inaccurate or illegible. In that case, your bank or credit union will return the check to you, and you may be assessed a fee.
2. Include the payee’s name.
On the first line of the check, you’ll see the words “Pay to the order of________.” This is the payee line, where you should fill in the name of the person or business that will cash the check.
The recipient’s name must be on the check for them to deposit the funds into their bank account or credit union account. Be sure to include their full name, not a nickname, and write clearly so the recipient can successfully deposit the funds.
If you’re paying a business, be sure to write the organization’s exact name. Look at the bill to determine what to put when writing a check.
Correct spelling is also important, so double-check before you start writing.
3. Fill in the amount of the check in numerals.
Next, you’ll see a small box on the right-hand side of the check. In this space, fill in the total payment amount using standard numerals (i.e., 1, 2, 3, etc.). Some checks have a dollar sign, and some do not. If not, you don’t have to put one in.
Be sure to include the decimal point in the right place so there aren’t any errors in the withdrawal process.
To help prevent fraud, add $.00 to the numerical dollar amount if you’re writing a check that doesn’t include cents. As an example, write $100.00 rather than $100. Taking this step will prevent anyone from adding additional zeros to the dollar amount.
4. Write the numerical amount in words.
Just beneath the payee line is a blank line with the word “dollars” to the right of it. On this line, fill out the dollar amount of the check in words.
For example, if your check is for $142.57, you would write, “One hundred forty-two and 57/100.” If the dollar amount is even, you should still include “00/100” to clarify that there are no cents that were mistakenly omitted.
Why do you have to write the amount of the check twice? In short, it’s to ensure that the check is for the correct amount. If the numbers in the amount box are different from the amount spelled out in letters, the recipient won’t be able to cash it.
To the right of this line, you may also see a number 100 with a line above it. If your check has this option, you can include the number of cents here instead of the written dollar amount. You can also simply enter “00” for an even dollar amount here.
5. Sign the check.
You’ll notice a blank line on the bottom right-hand corner of the check. This is where you sign the check. A check can only be cashed if there’s a valid signature on the bottom, so make sure it’s clear and legible.
When you opened your checking account, the bank teller or customer service representative likely had you sign something called a signature card. You’ll need to use the same signature you used when you initially signed this card for security purposes.
For example, if you wrote “Jonathan Smith” on the signature card, you would sign the same way. Should you write “John Smith” instead, the bank may return the check.
In some cases, a checking account may have more than one signing authority — for example, if it’s a joint or business bank account.
If the names on the account are separated by an “or,” like “John Smith or Mary Smith,” only one person will need to sign the check. Accounts titled with “and,” as in “John Smith and Mary Smith,” need signatures from both people.
6. Jot down notes in the memo section.
Filling out the memo line on the bottom left-hand side of the check is optional unless the payee has requested it.
A memo can help the recipient keep track of incoming payments, but it’s also useful for your record-keeping purposes. For example, you could write “June rent,” “car deposit,” or “birthday gift,” depending on what the check is for.
Leave the back of the check blank. The recipient will need to sign their own name on the back of the check in order to endorse it.
7. Double-check everything.
Double-checking all of the information on paper checks can ensure that your payment goes smoothly. Follow this checklist:
- Is the date correct?: Unless you’re writing a postdated check, today’s date should appear on the date line.
- Do the numeric form and words match?: The amount in words must match the numbers in the right-hand box.
- Is the check payable to the right person?: Verify that you have the name of the person or organization that you wish to pay spelled correctly.
- Do you need a memo?: Memo filling is usually optional, so ensure you’ve added one if you wish.
- Did you sign?: It’s easy to fill out a check and forget to sign it. Make sure your signature is located on the bottom right line.
8. Keep track of your checks.
Once you’ve written a check, it’s a good idea to record the transaction in your checkbook register immediately (if you don’t have another method of tracking expenses).
At the back of your checkbook, you’ll see a check register where you can list what each check is for. You can write the check number, the check amount, the payee, and the date of the check. This can help with budgeting and keeping track of your personal finances.
Online banking can also help you track your checks. Many banking apps will allow you to see a scanned image of your checks once they’re cashed. After the recipient cashes it, you’ll see it recorded in your account activity.
Remember that your checkbook register isn’t just for recording checks. To accurately track your balance, you should also include:
- ATM withdrawals and deposits
- Direct deposit transactions
- Any other deposits
- Debit card payments and debit card credits
- Electronic payments like ACH transfers, wire transfers, and online bill payment transactions
- Fees that your bank deducts
Comparing your check register to your bank statement each month can help you spot errors.

More about checks
What information is printed on a check?
Checks come in a wide variety of styles, but they all have some details in common, including:
Routing number
Found at the bottom of the check, the routing number identifies your bank so the receiving bank can obtain funds.
Account number
Also located at the bottom of the check, the account number identifies your specific account. It allows your bank to know which of the thousands of checking accounts in its system to debit when the check is presented.
Bank name and address
The name and address of your bank or credit union will appear below the line where you write the payment amount in words.
Check number
Found in the upper right-hand corner and along the bottom, the check number allows you to easily identify checks.
American Banking Association number
Located at the top right, the American Banking Association or ABA number identifies your bank.
Account holder’s name and address
Most checks will also have the account holder’s name and address in the top left corner. Starter checks you receive when you open accounts and counter checks you receive at the bank are the exception.
How to void a check — and why
Sometimes, you may need to void a check.
What is a voided check? It’s simply a check you’ve canceled, so it can’t be cashed. You can void a blank check or one you’ve filled out but decided not to use.
Consider this scenario: You start a new job that requires you to receive direct deposit for your payments. To ensure your employer has the correct routing number and account number, they may ask for a voided check.
If you make a mistake when filling out a check, you can also void it. It’s best to void or destroy a check with a mistake on it rather than try to correct it.
To create a voided check, cross out the signature line, the date line, and the small box where the check amount usually goes. Then, write “VOID” in capital letters across the check to make the check unusable, meaning no one can manipulate it or cash it.
By voiding the check, you protect yourself from fraud. Once you’ve voided the check, be sure to make a note of it in your check register so you can keep track.
Never provide your employee or anyone else with blank checks. Anyone can fill out a blank check and wrongfully cash it.
How to order checks
You can order checks associated with your checking account directly through your bank. You can do so in person at your local branch or online.
In most cases, your banking institution will deduct the cost of your checkbooks from your checking account.
Many banks work with a third-party check supplier, so your checkbook will include an information sheet with the contact info you need to reorder.
Checking your balance
You can check your balance online or through a mobile app, or in your check register.
What happens if your checking account balance isn’t enough to cover a check?
If you give someone a check that you can’t cover, one of two things may happen.
First, your bank may mark the check as “non-sufficient funds” or NSF and send it back to the payee. When this occurs, your bank will usually charge you a fee, and their bank likely will, too. The payee may pass their fees along to you.
A check returned NSF is sometimes called a bounced check.
The second thing that could happen if you write a check without enough funds in your account to cover it is that the bank may pay the check and overdraft your account. The recipient won’t be charged any fees, but you will likely be assessed an overdraft fee when your account goes into the negative.
Some banks and credit unions will begin charging daily overdraft fees if your account remains overdrawn for more than a set period, such as a week. As a result, fees can add up quickly and become difficult to pay.

Send money with a mobile app
Knowing how to write checks is a useful personal finance skill — but often, sending money online is faster and easier. Besides, with the exception of traveler’s checks and money orders, you can’t cash a check in another country. You’ll need to use a money transfer service like Remitly to send money overseas.